
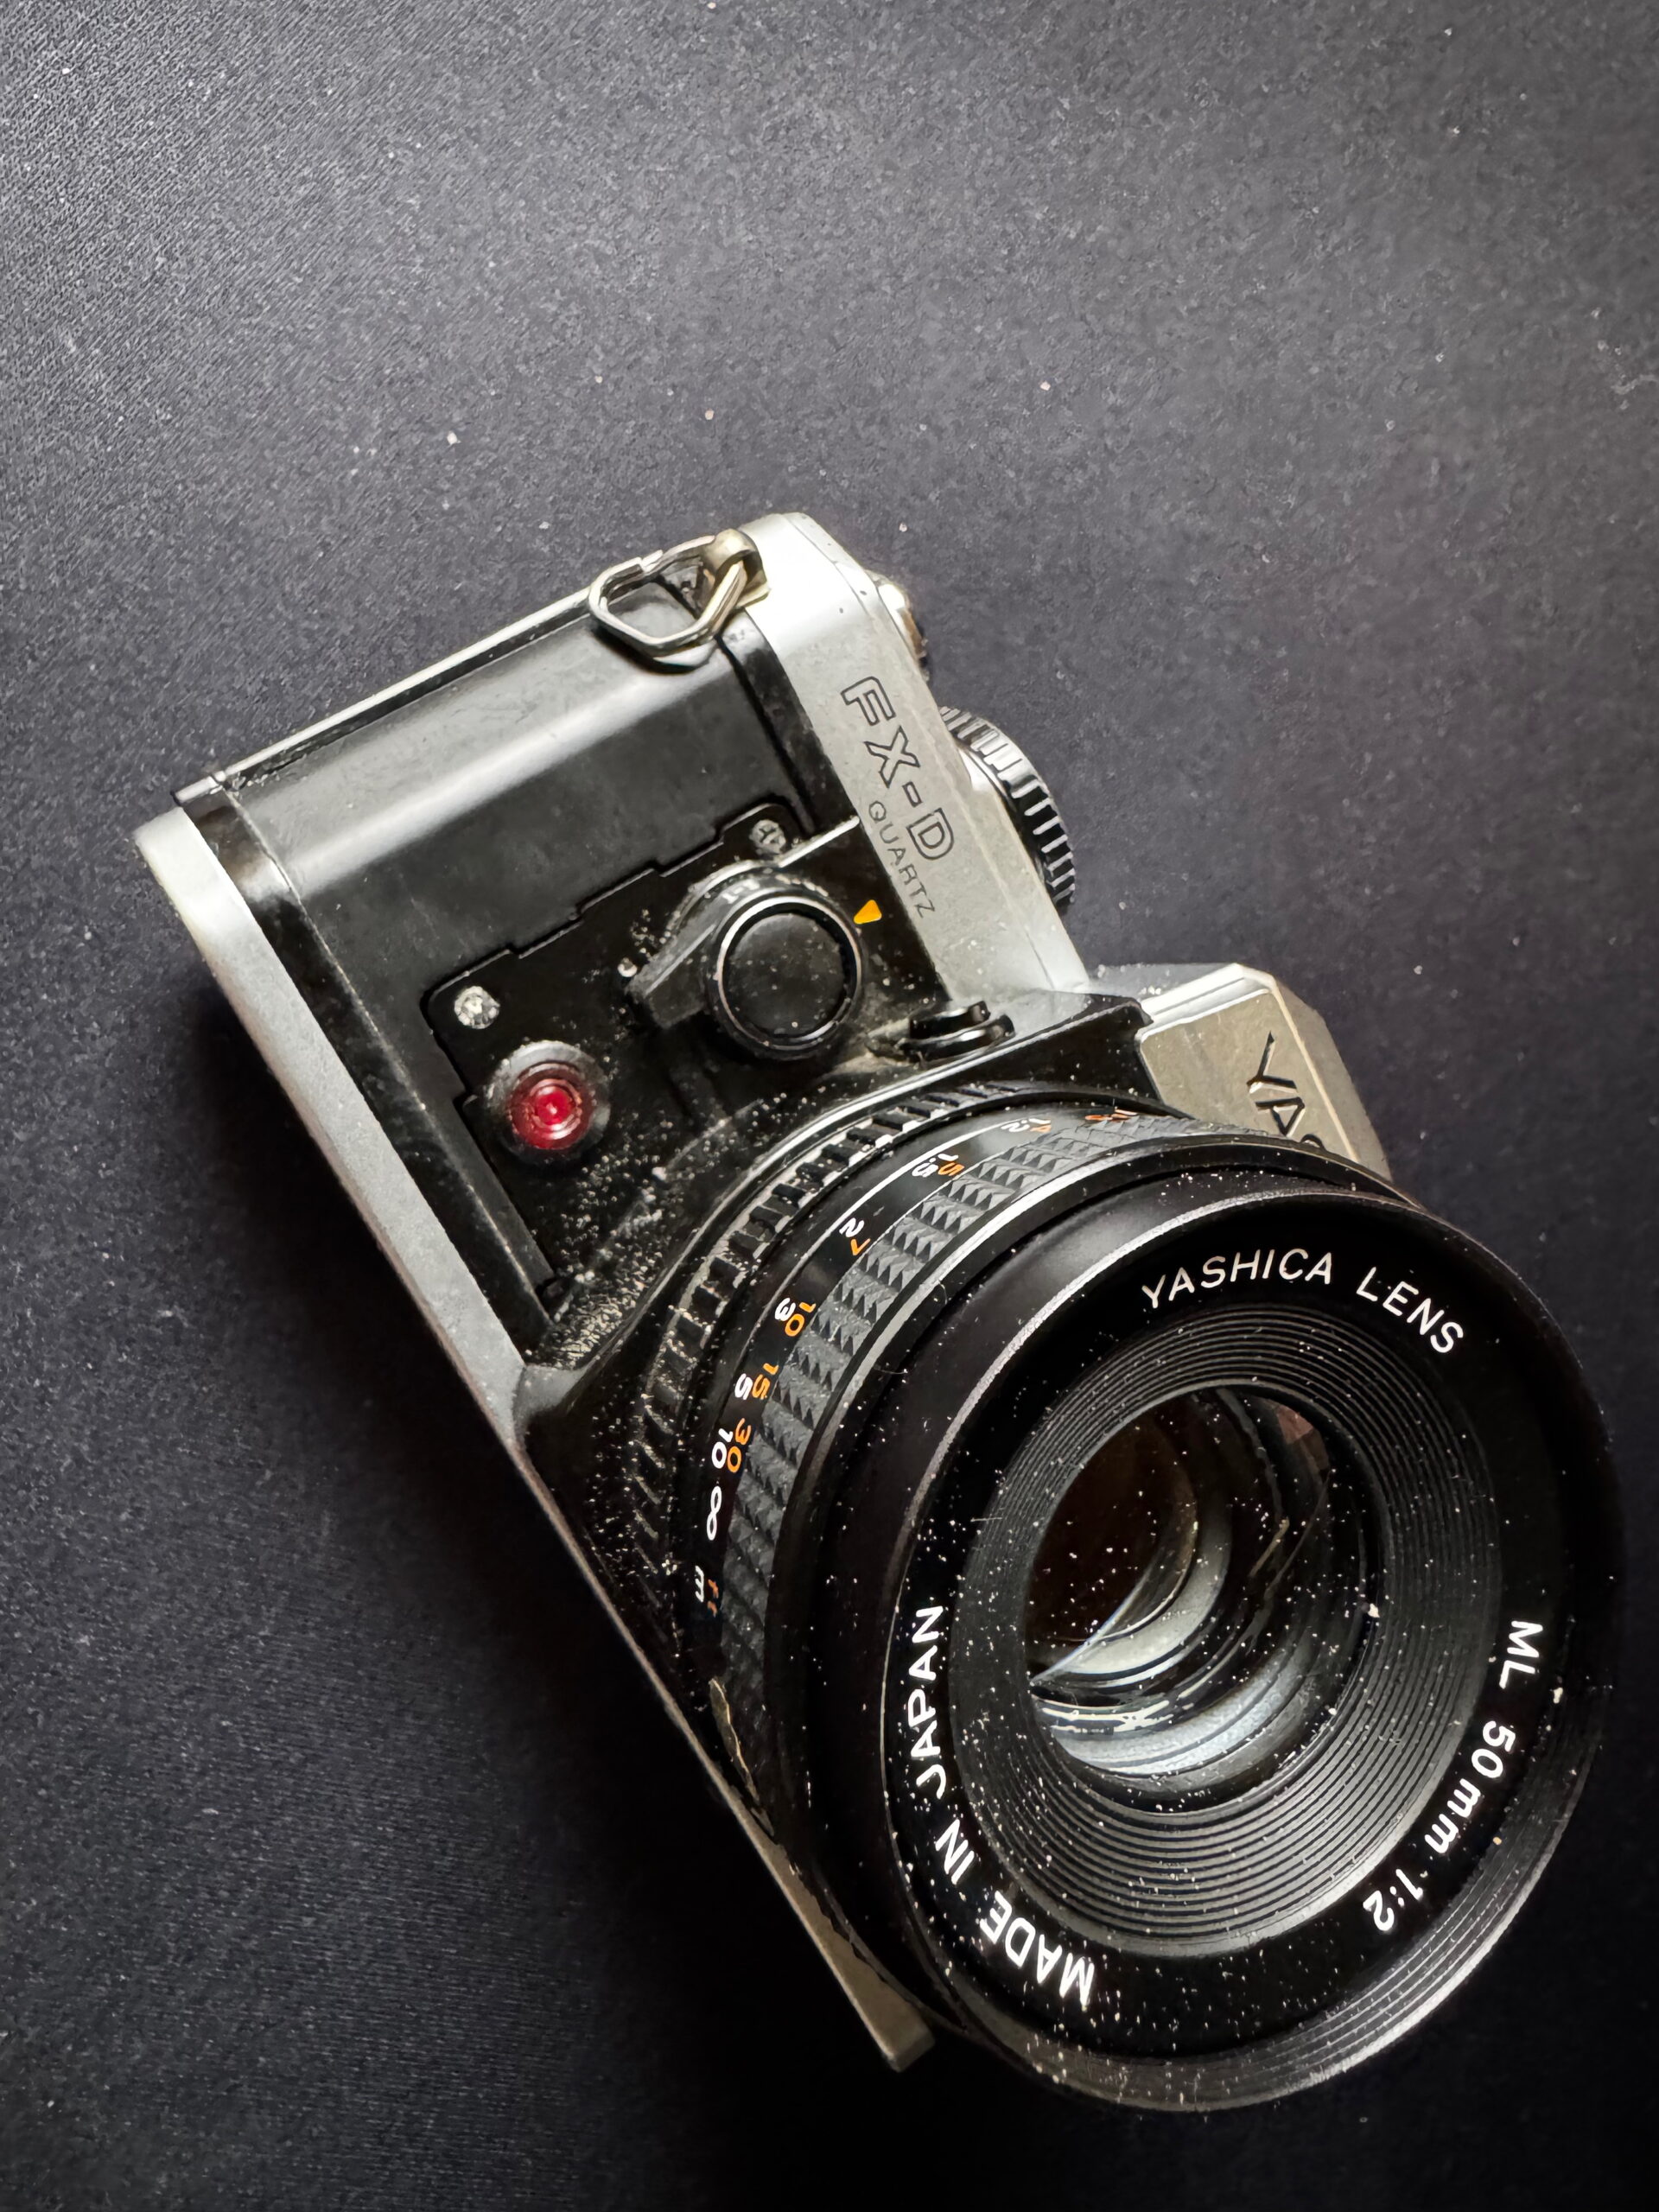
As the weather reverted to Bank Holiday mode this weekend, and threw it down, I decided to start cleaning the Yashica.
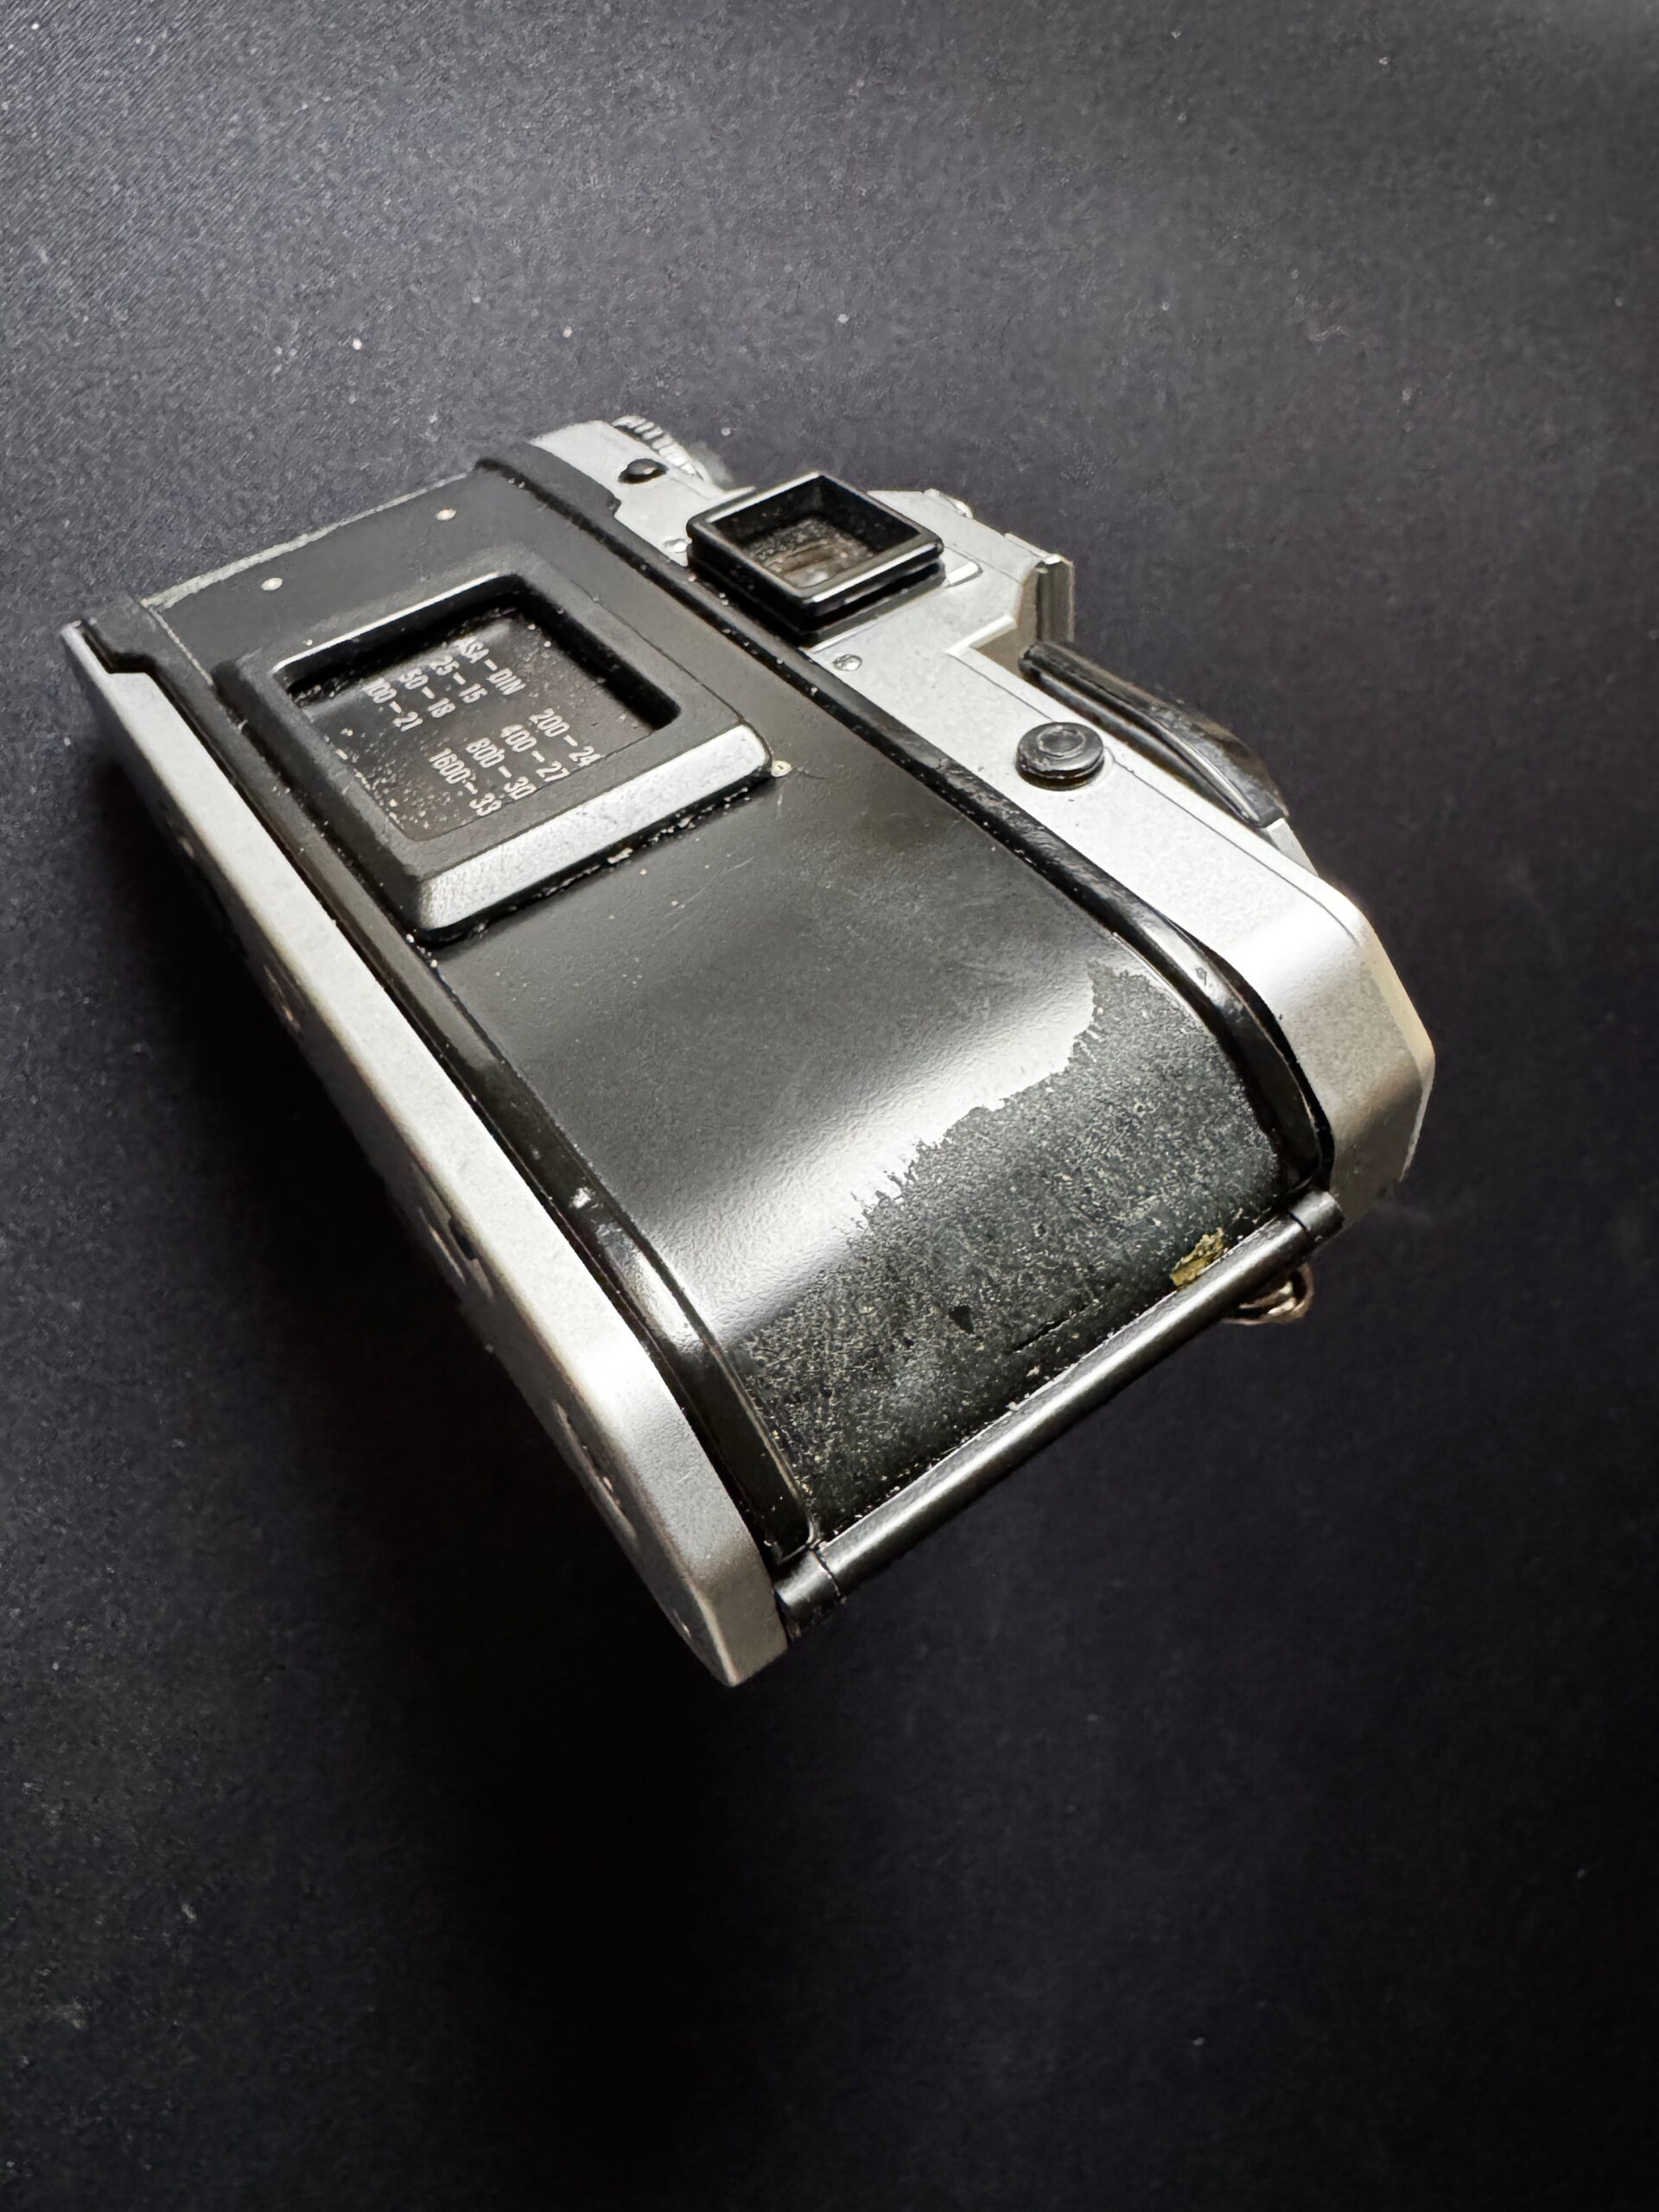
The actual issue with the coverings on these Yashica and Contax cameras is just the external material, the backing for which, that’s stuck to the camera body, is fine! This means removal is usually pretty straight forward and the whole lot generally comes of cleanly in three pieces; a single one across the film door at the back and two pieces either side of the lens mount on the front. As you can see, it only leaves old adhesive behind, though that does takes some effort to remove, seeing as it’s been there the best part of 40 years!
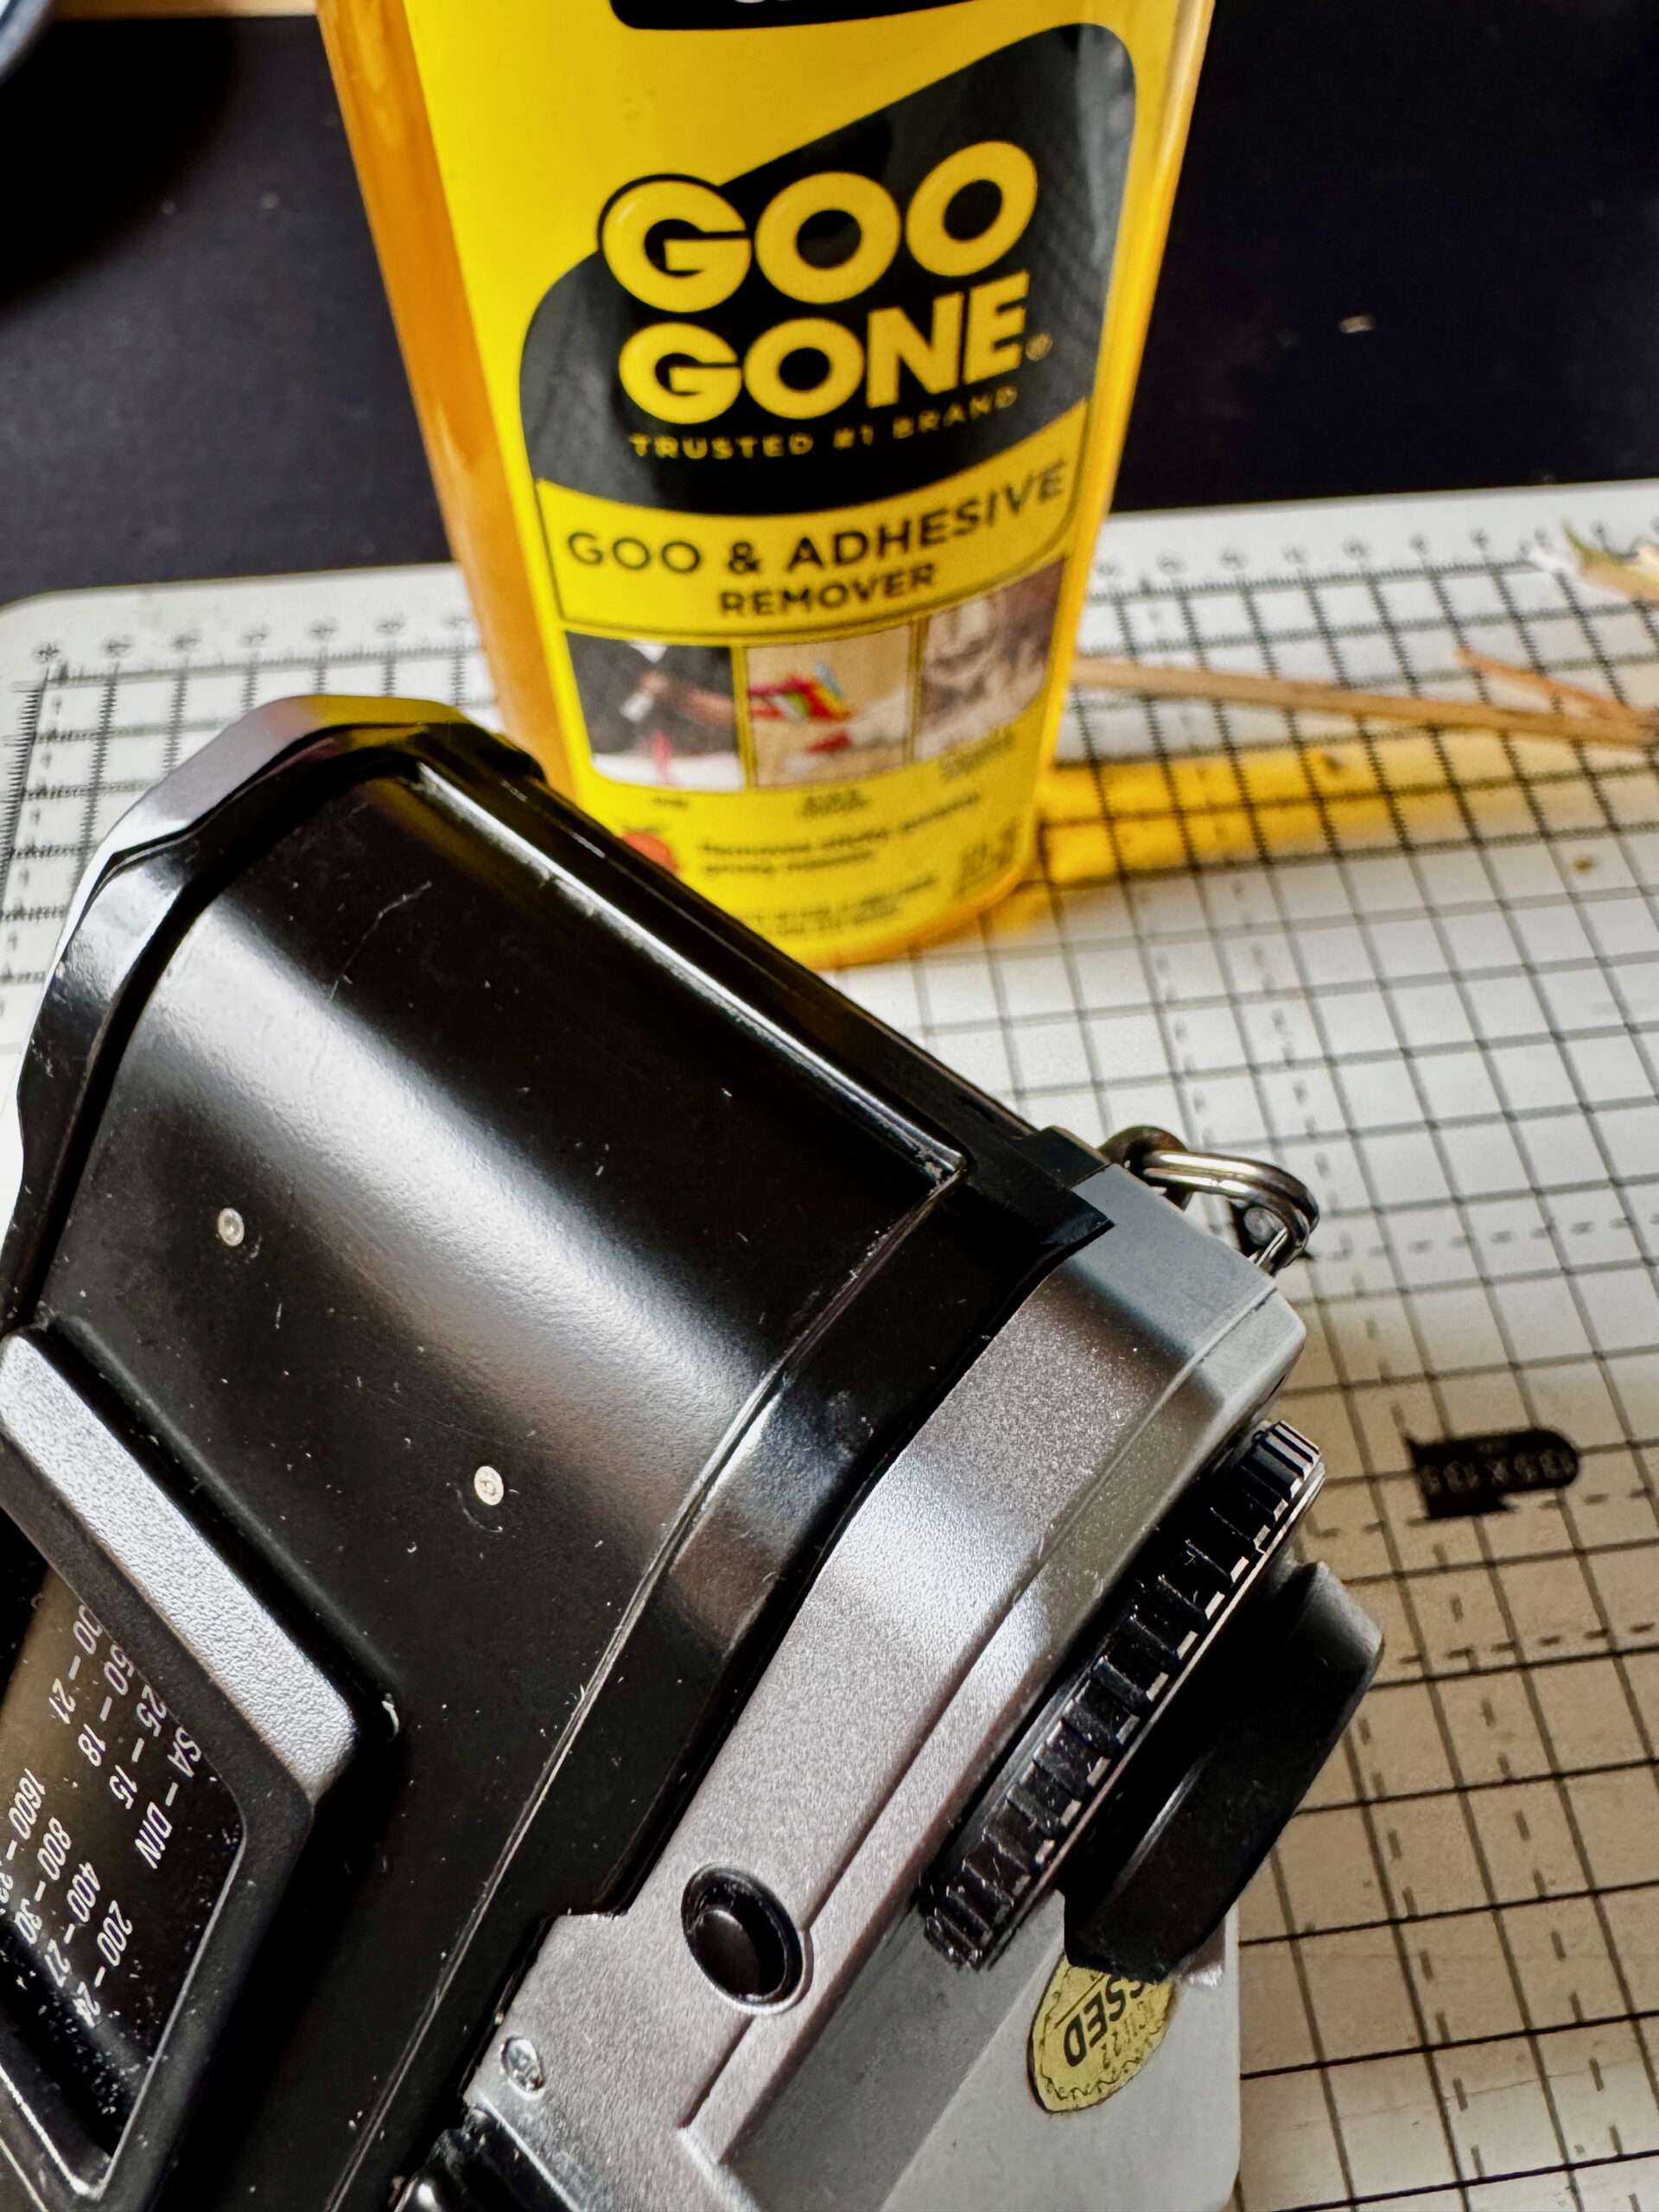
A quick soak with some Goo Gone softens its up and then its a case of gently scraping it off with finger nails, or wooden tools so as not to scratch the metalwork and a bit of elbow grease. Eventually you’re left with a nice clean surface ready for the new covering, once that arrives.
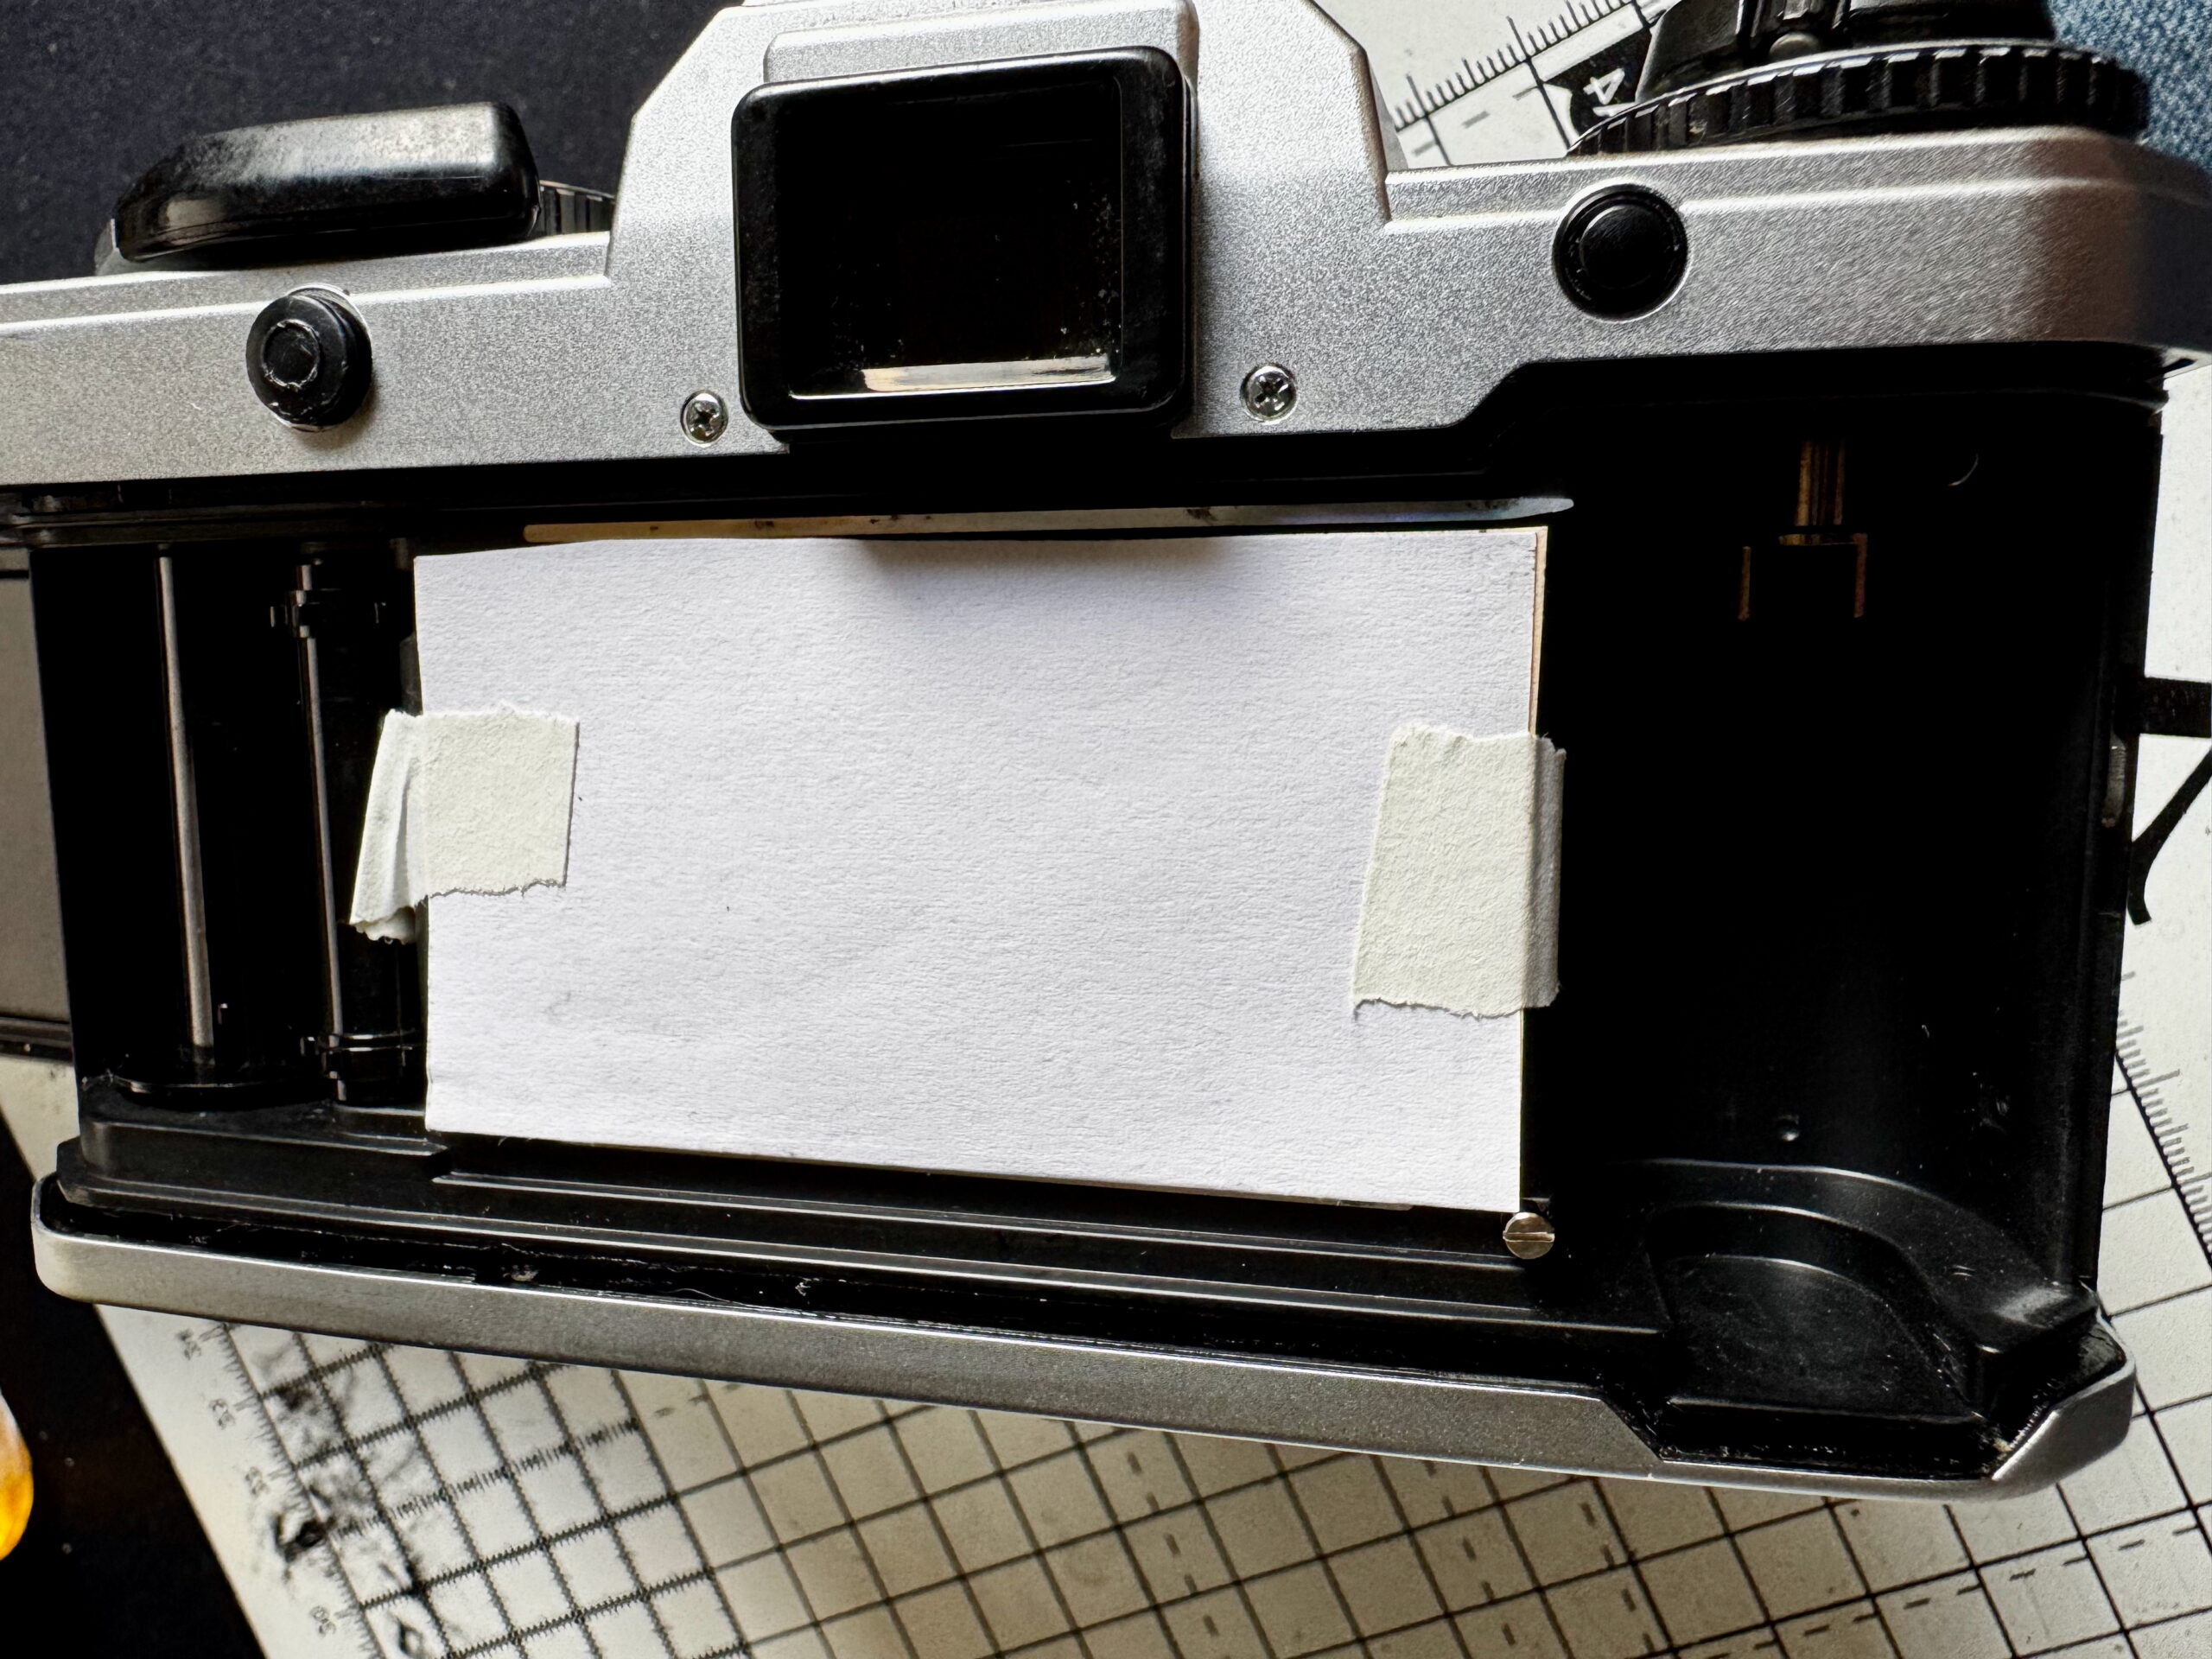
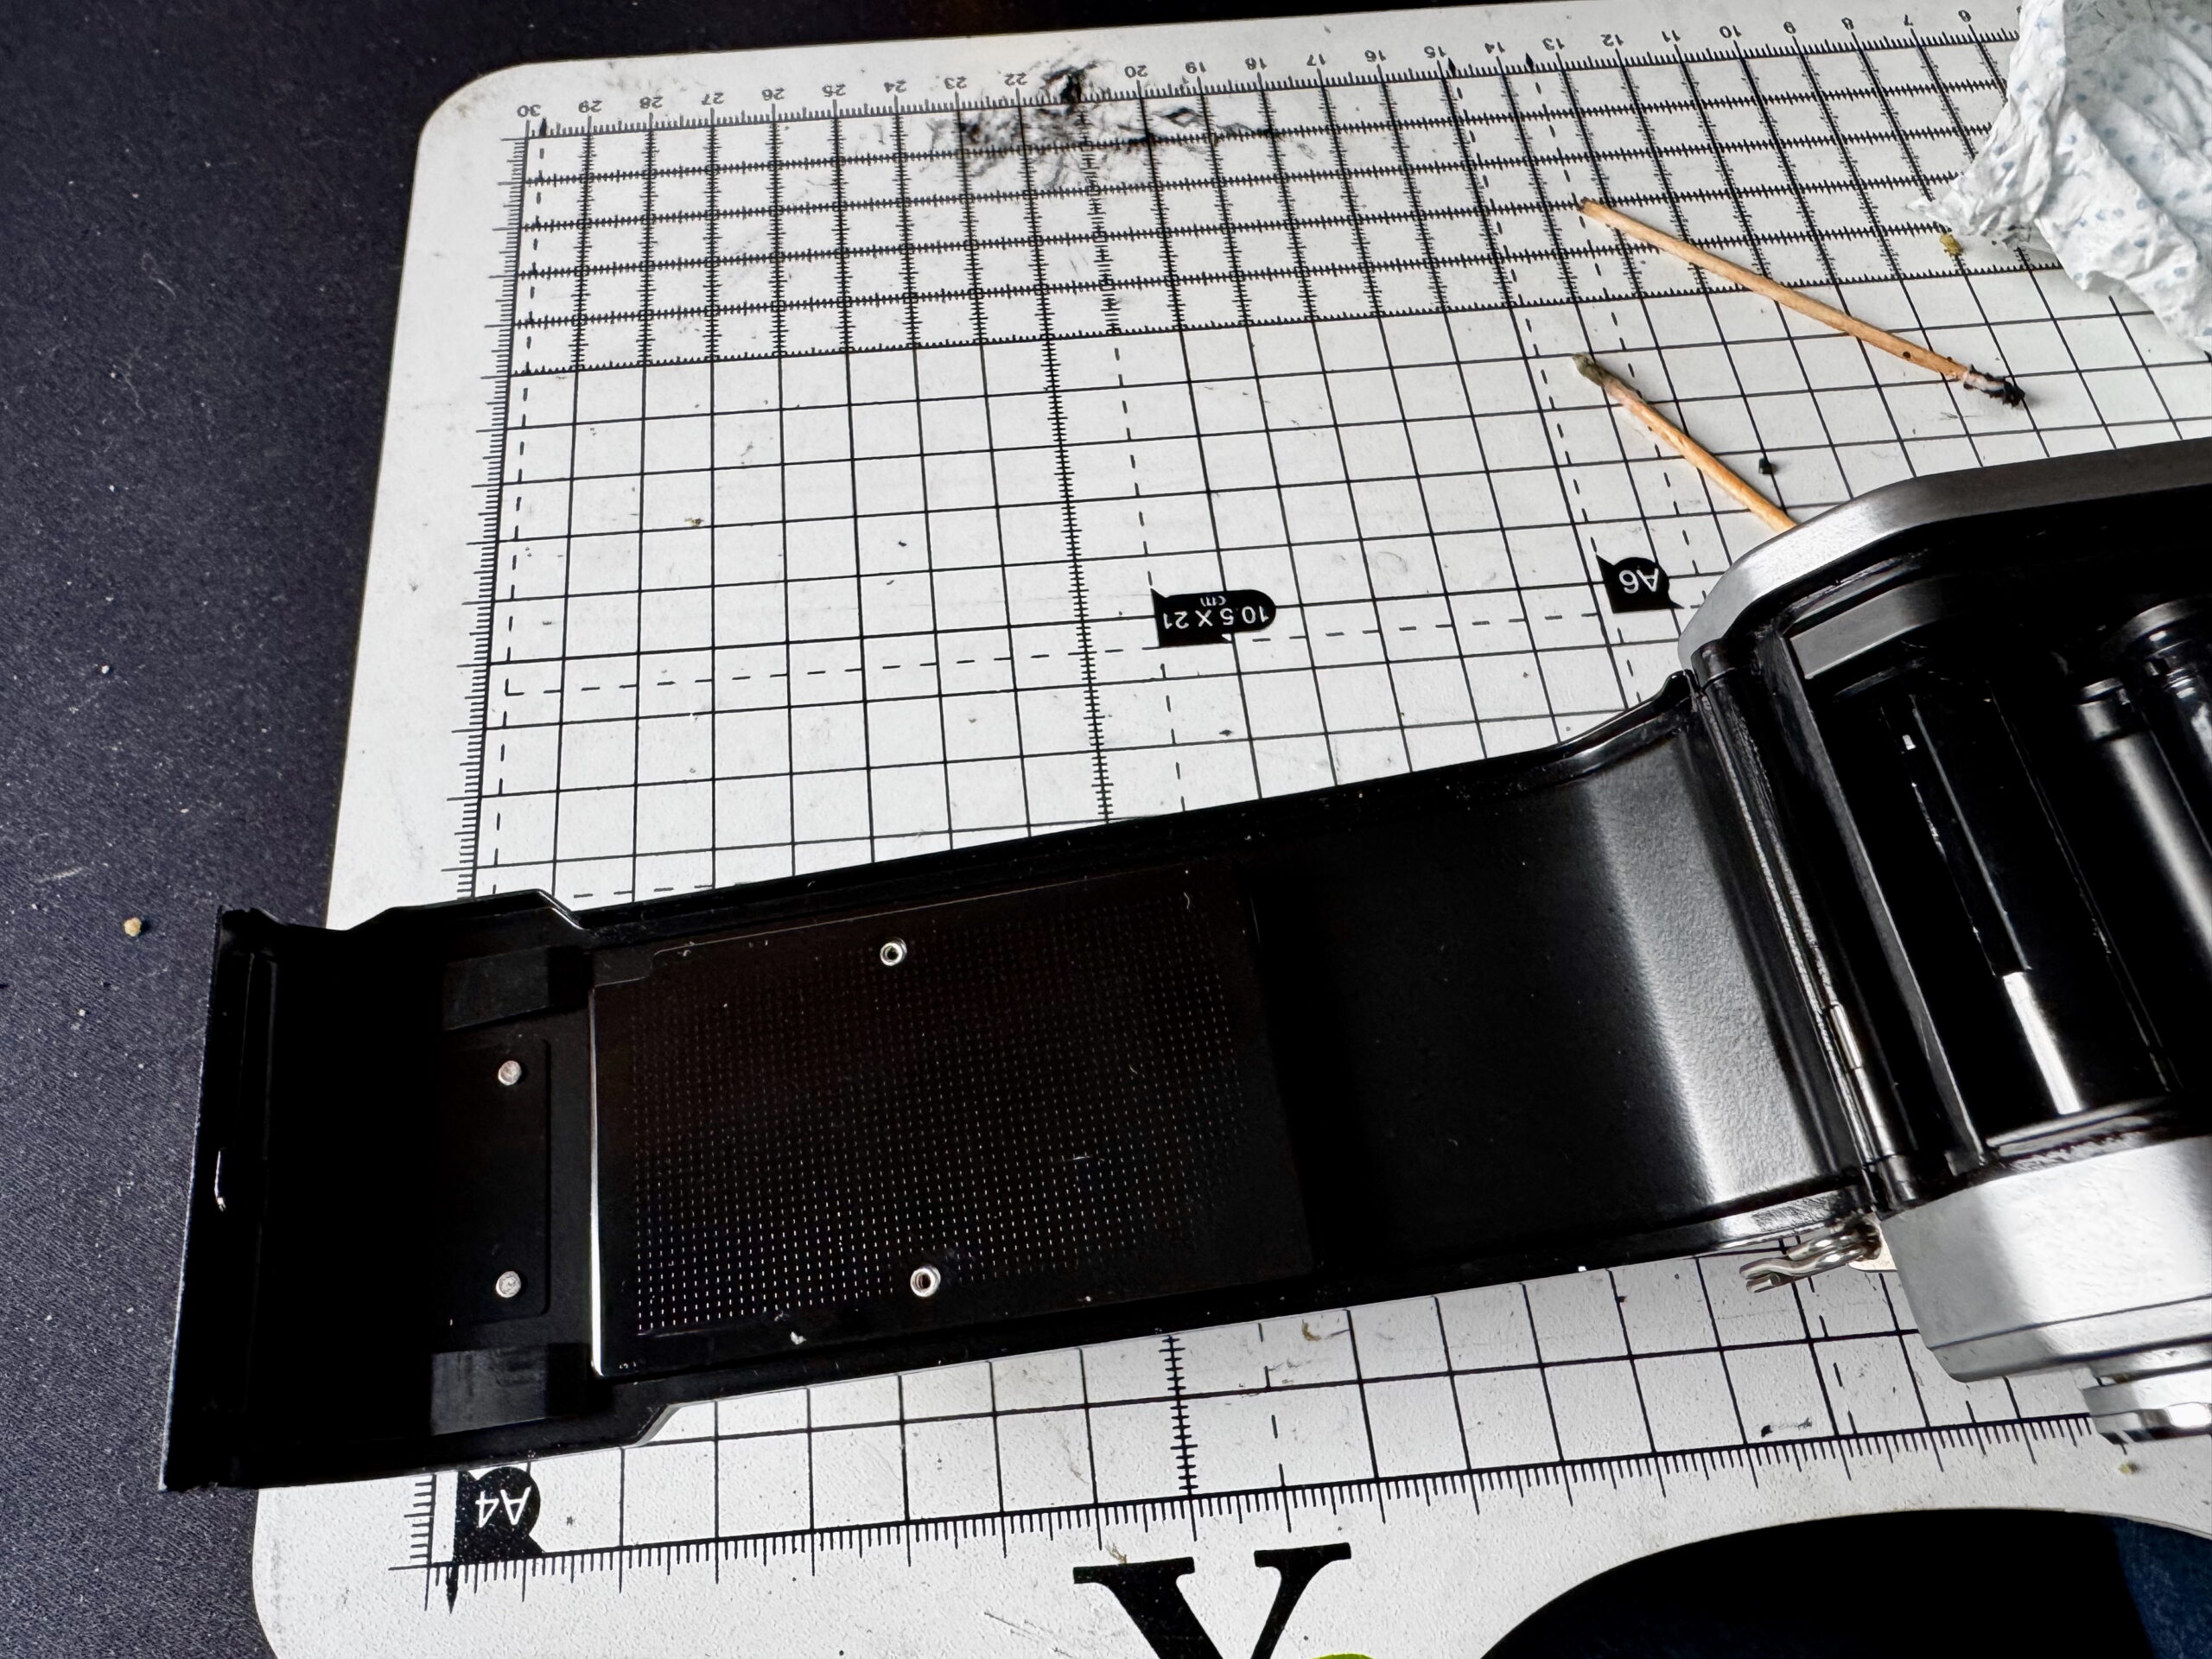
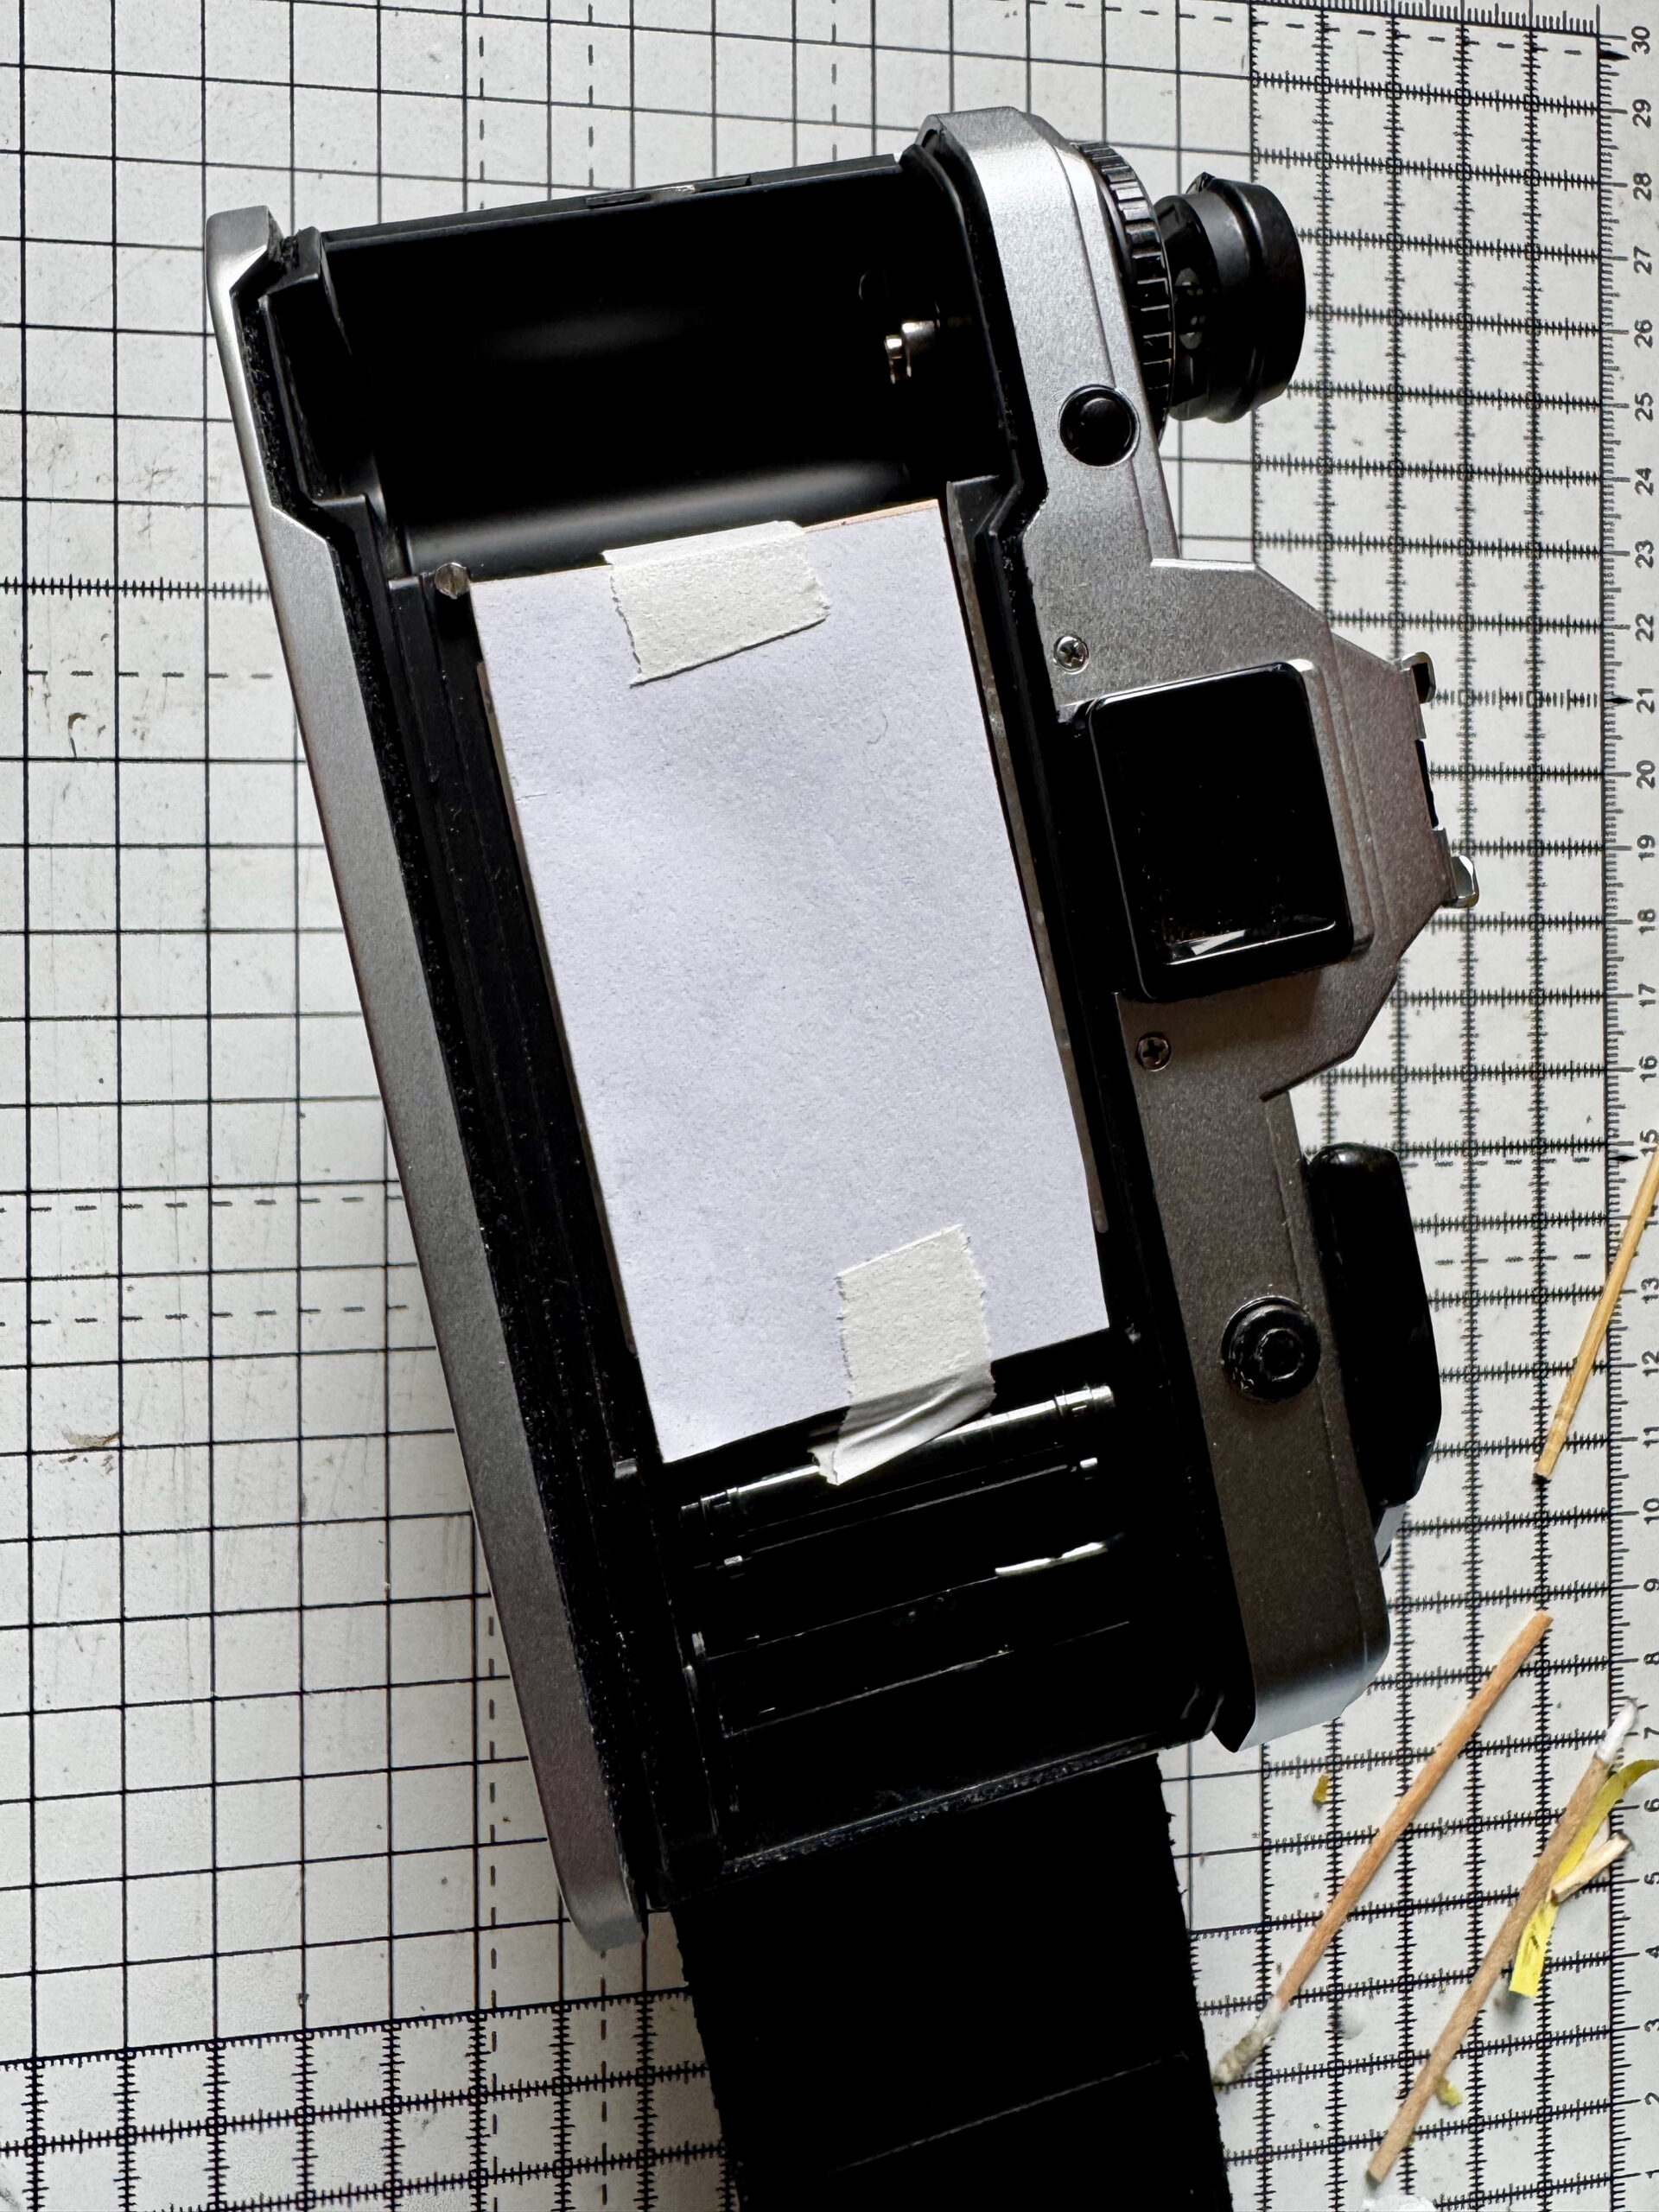
Inside the film chamber, first job is to fit a bit of card to protect the shutter blades from stray Goo Gone droplets and sticky bits of light seal foam.
The film door itself is the easiest bit to do. Again, gentle application of some Goo Gone along the door edges to remove the remains of the light seals that have stuck there, along with what’s left of the larger pair of light seals at either end of the door.
A short time later, you have a nice clean film door. It’s actually not too hard to remove the door from the camera body if you’re that way inclined, 4-5 small screws on the camera base allows you to remove that, and the film door hinge can be split by removing the pin through the middle.
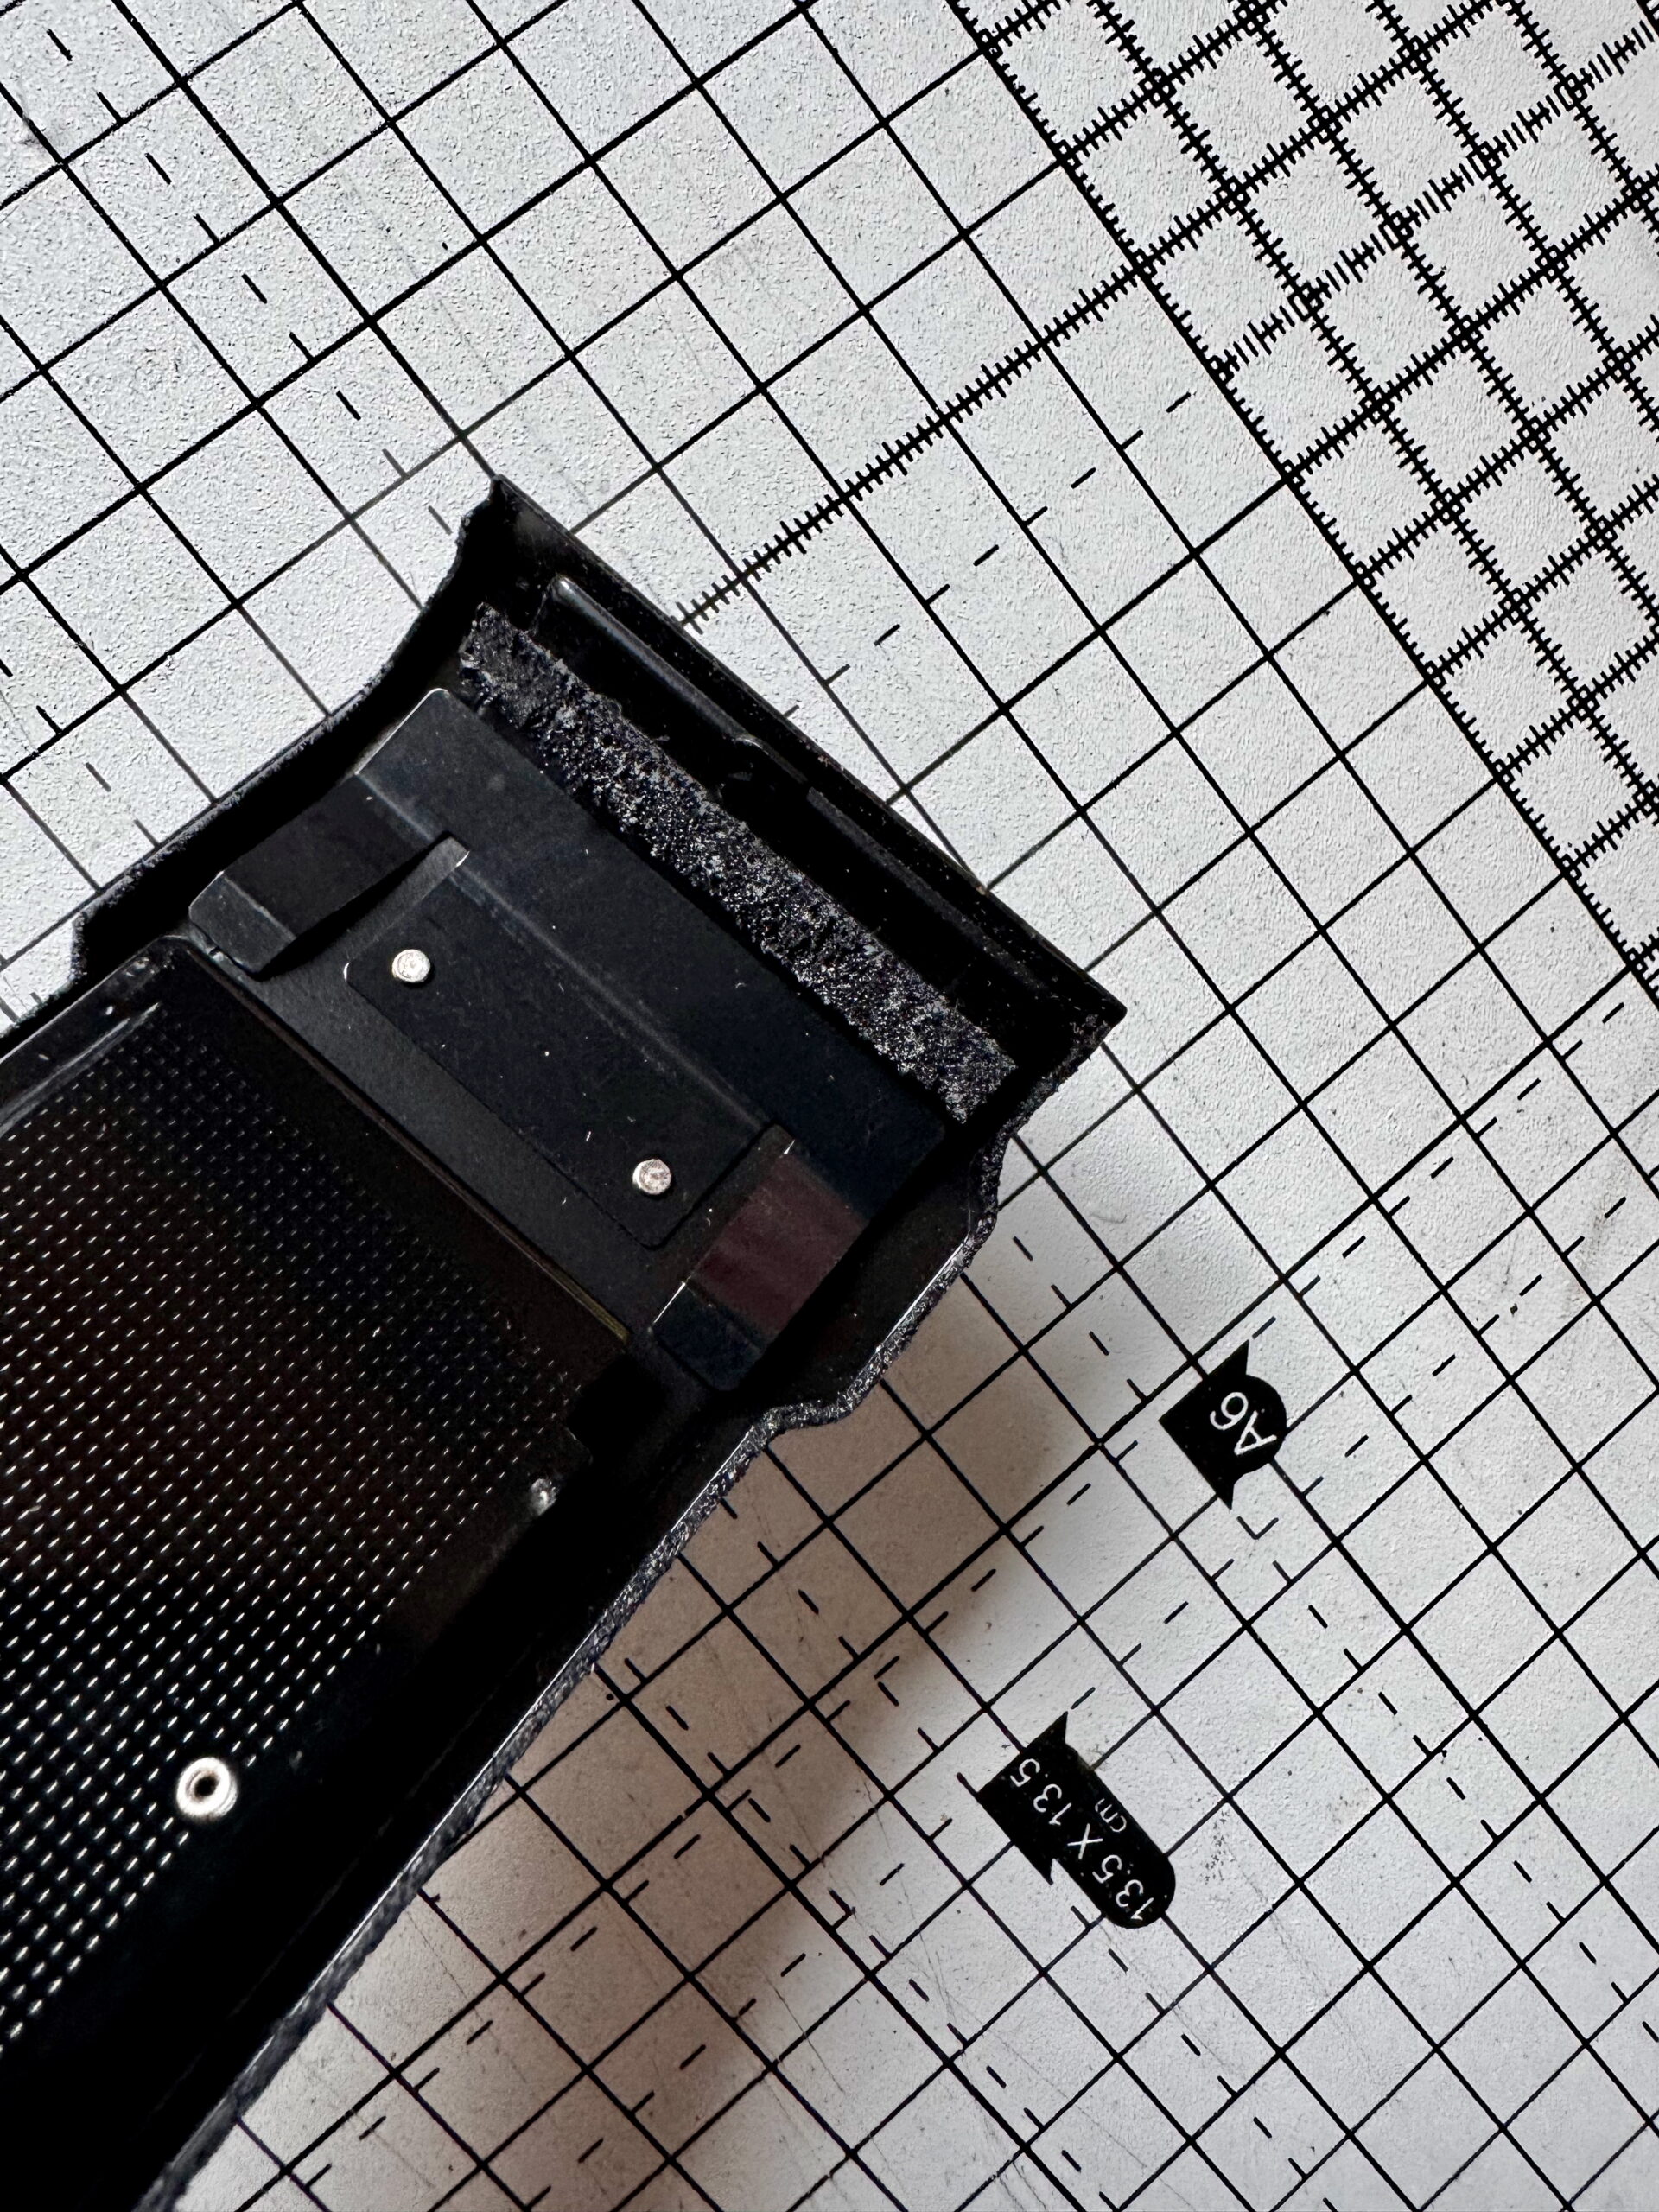
The hard bit removing old light seals are the two thin channels top and bottom of the body. This needs deft use of thin wooden or plastic tools, first to drop a bit of solvent in, and then to rake out the remaining disintegrated foam. It has to be as clean as possible or the replacement foam won’t sit correctly, so may not act as a light barrier; fitting the new foam is hard enough as it is, as we’ll see.
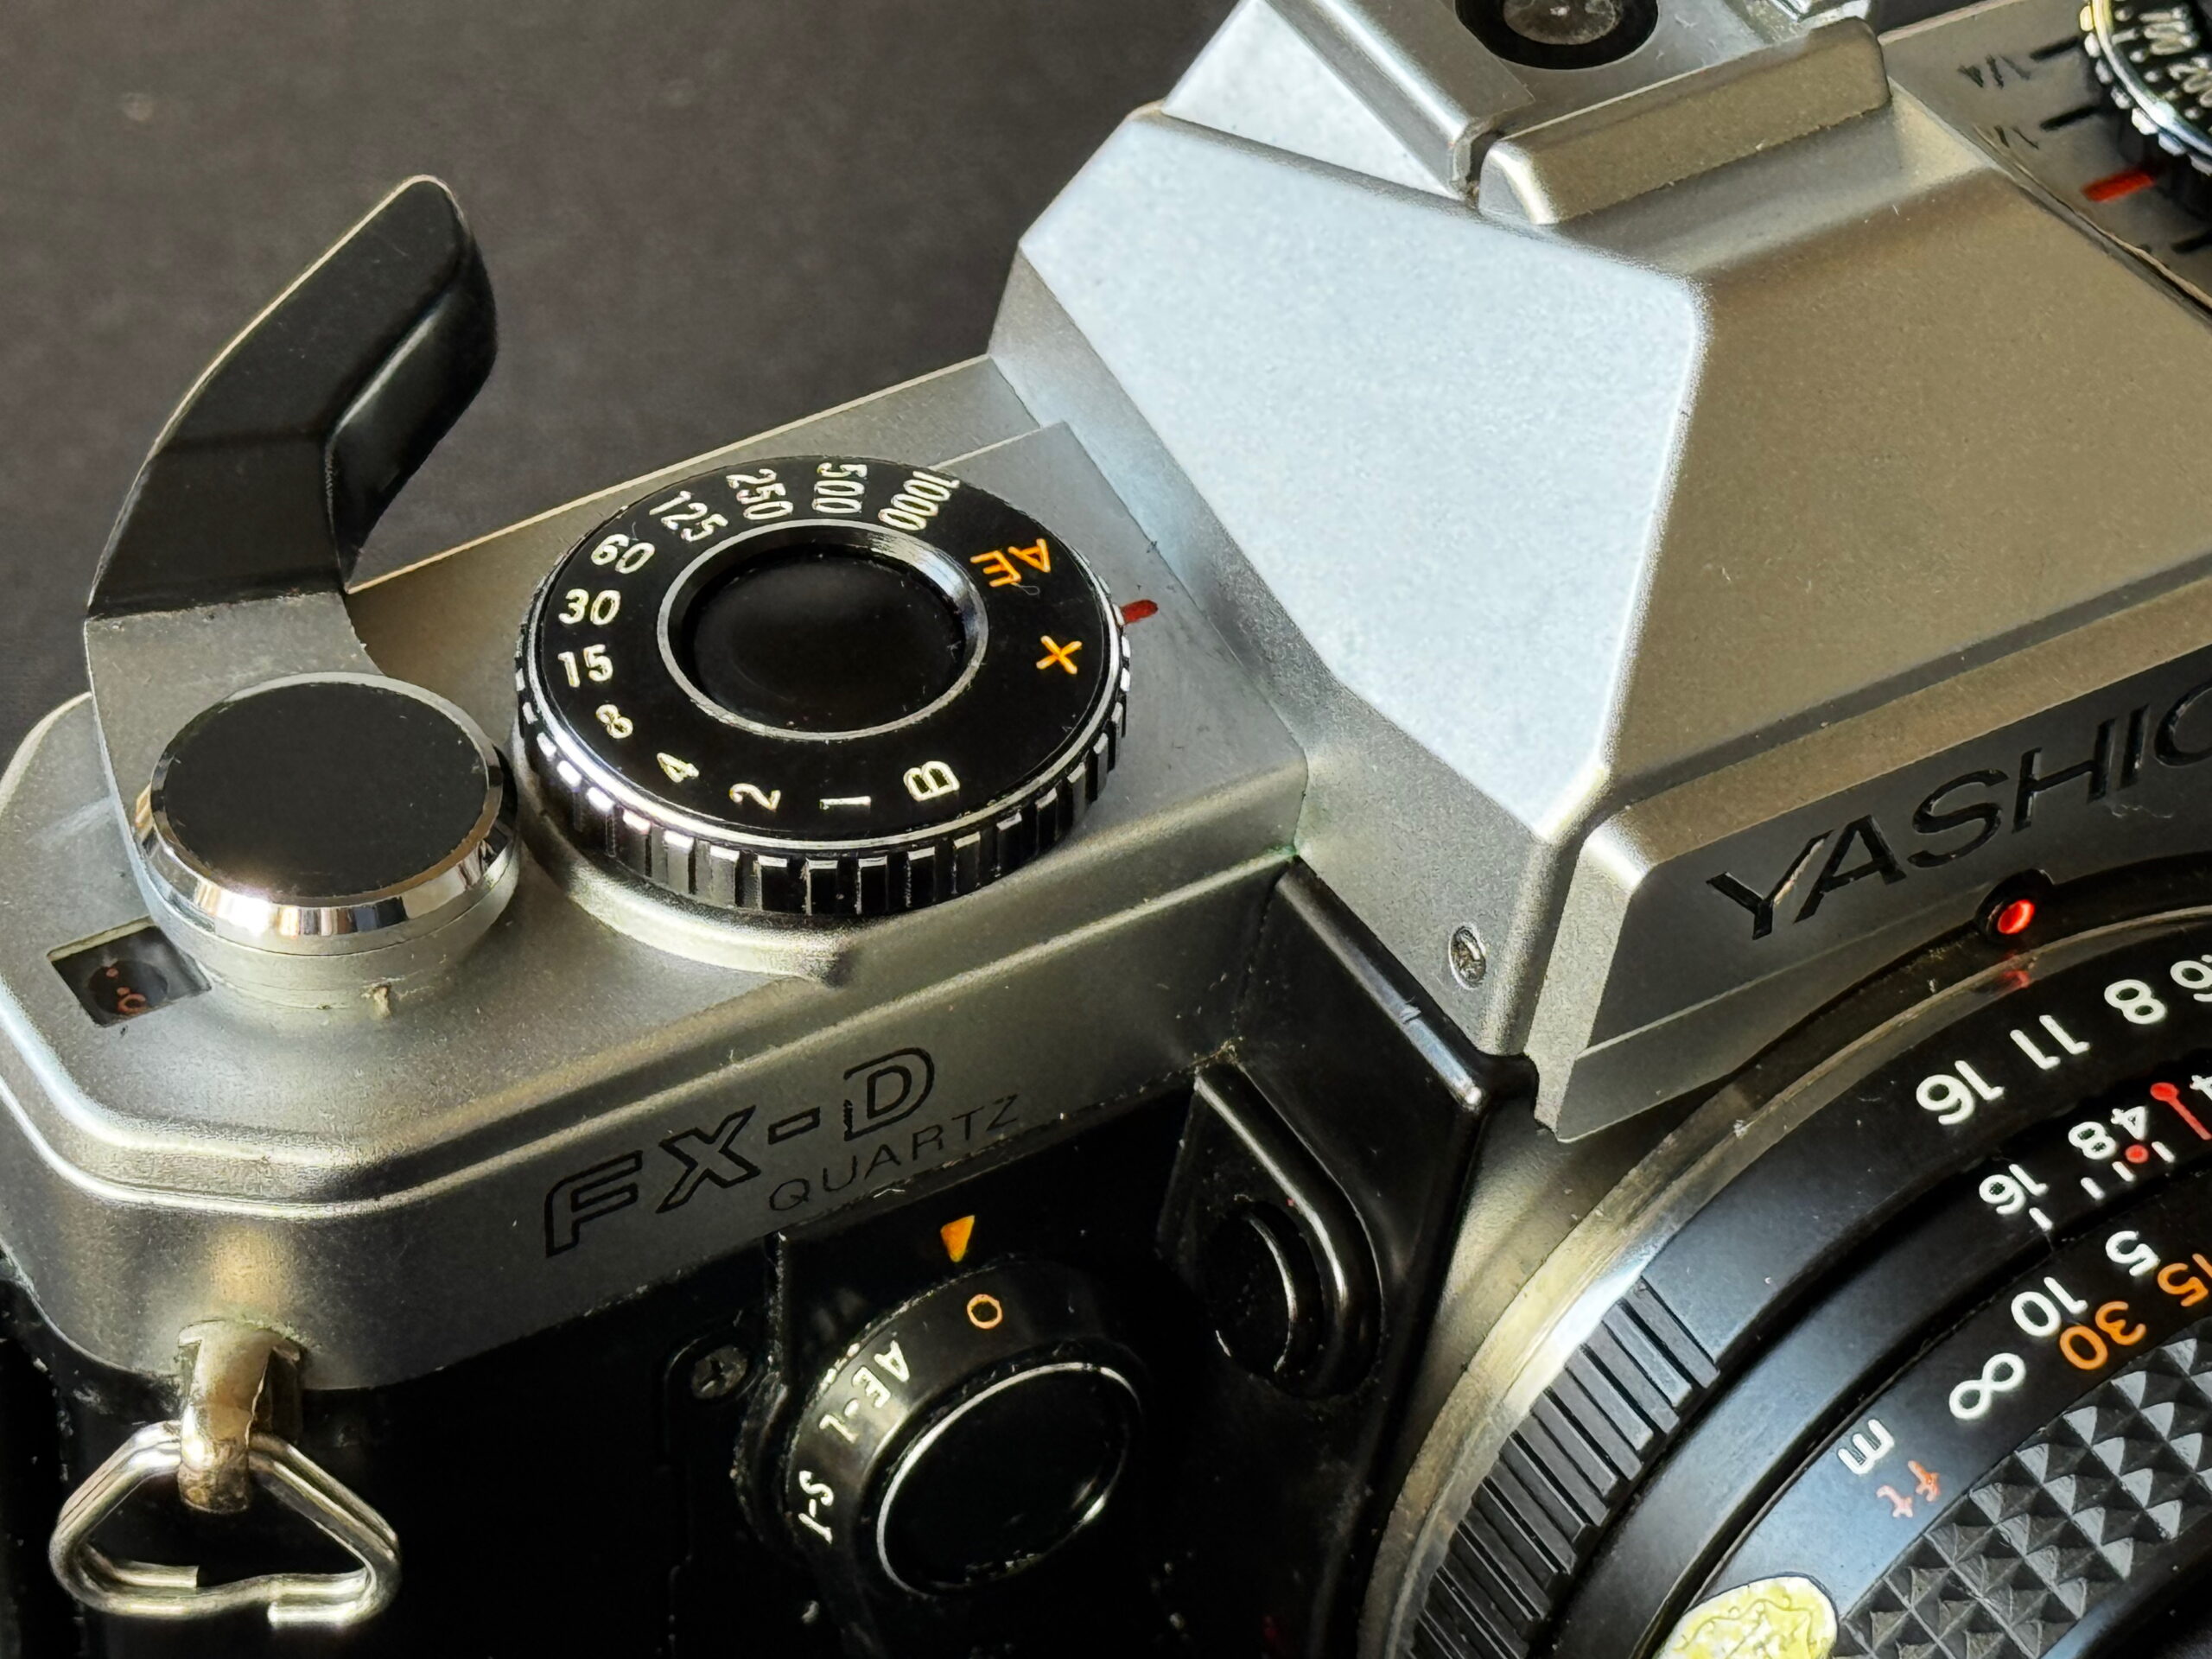
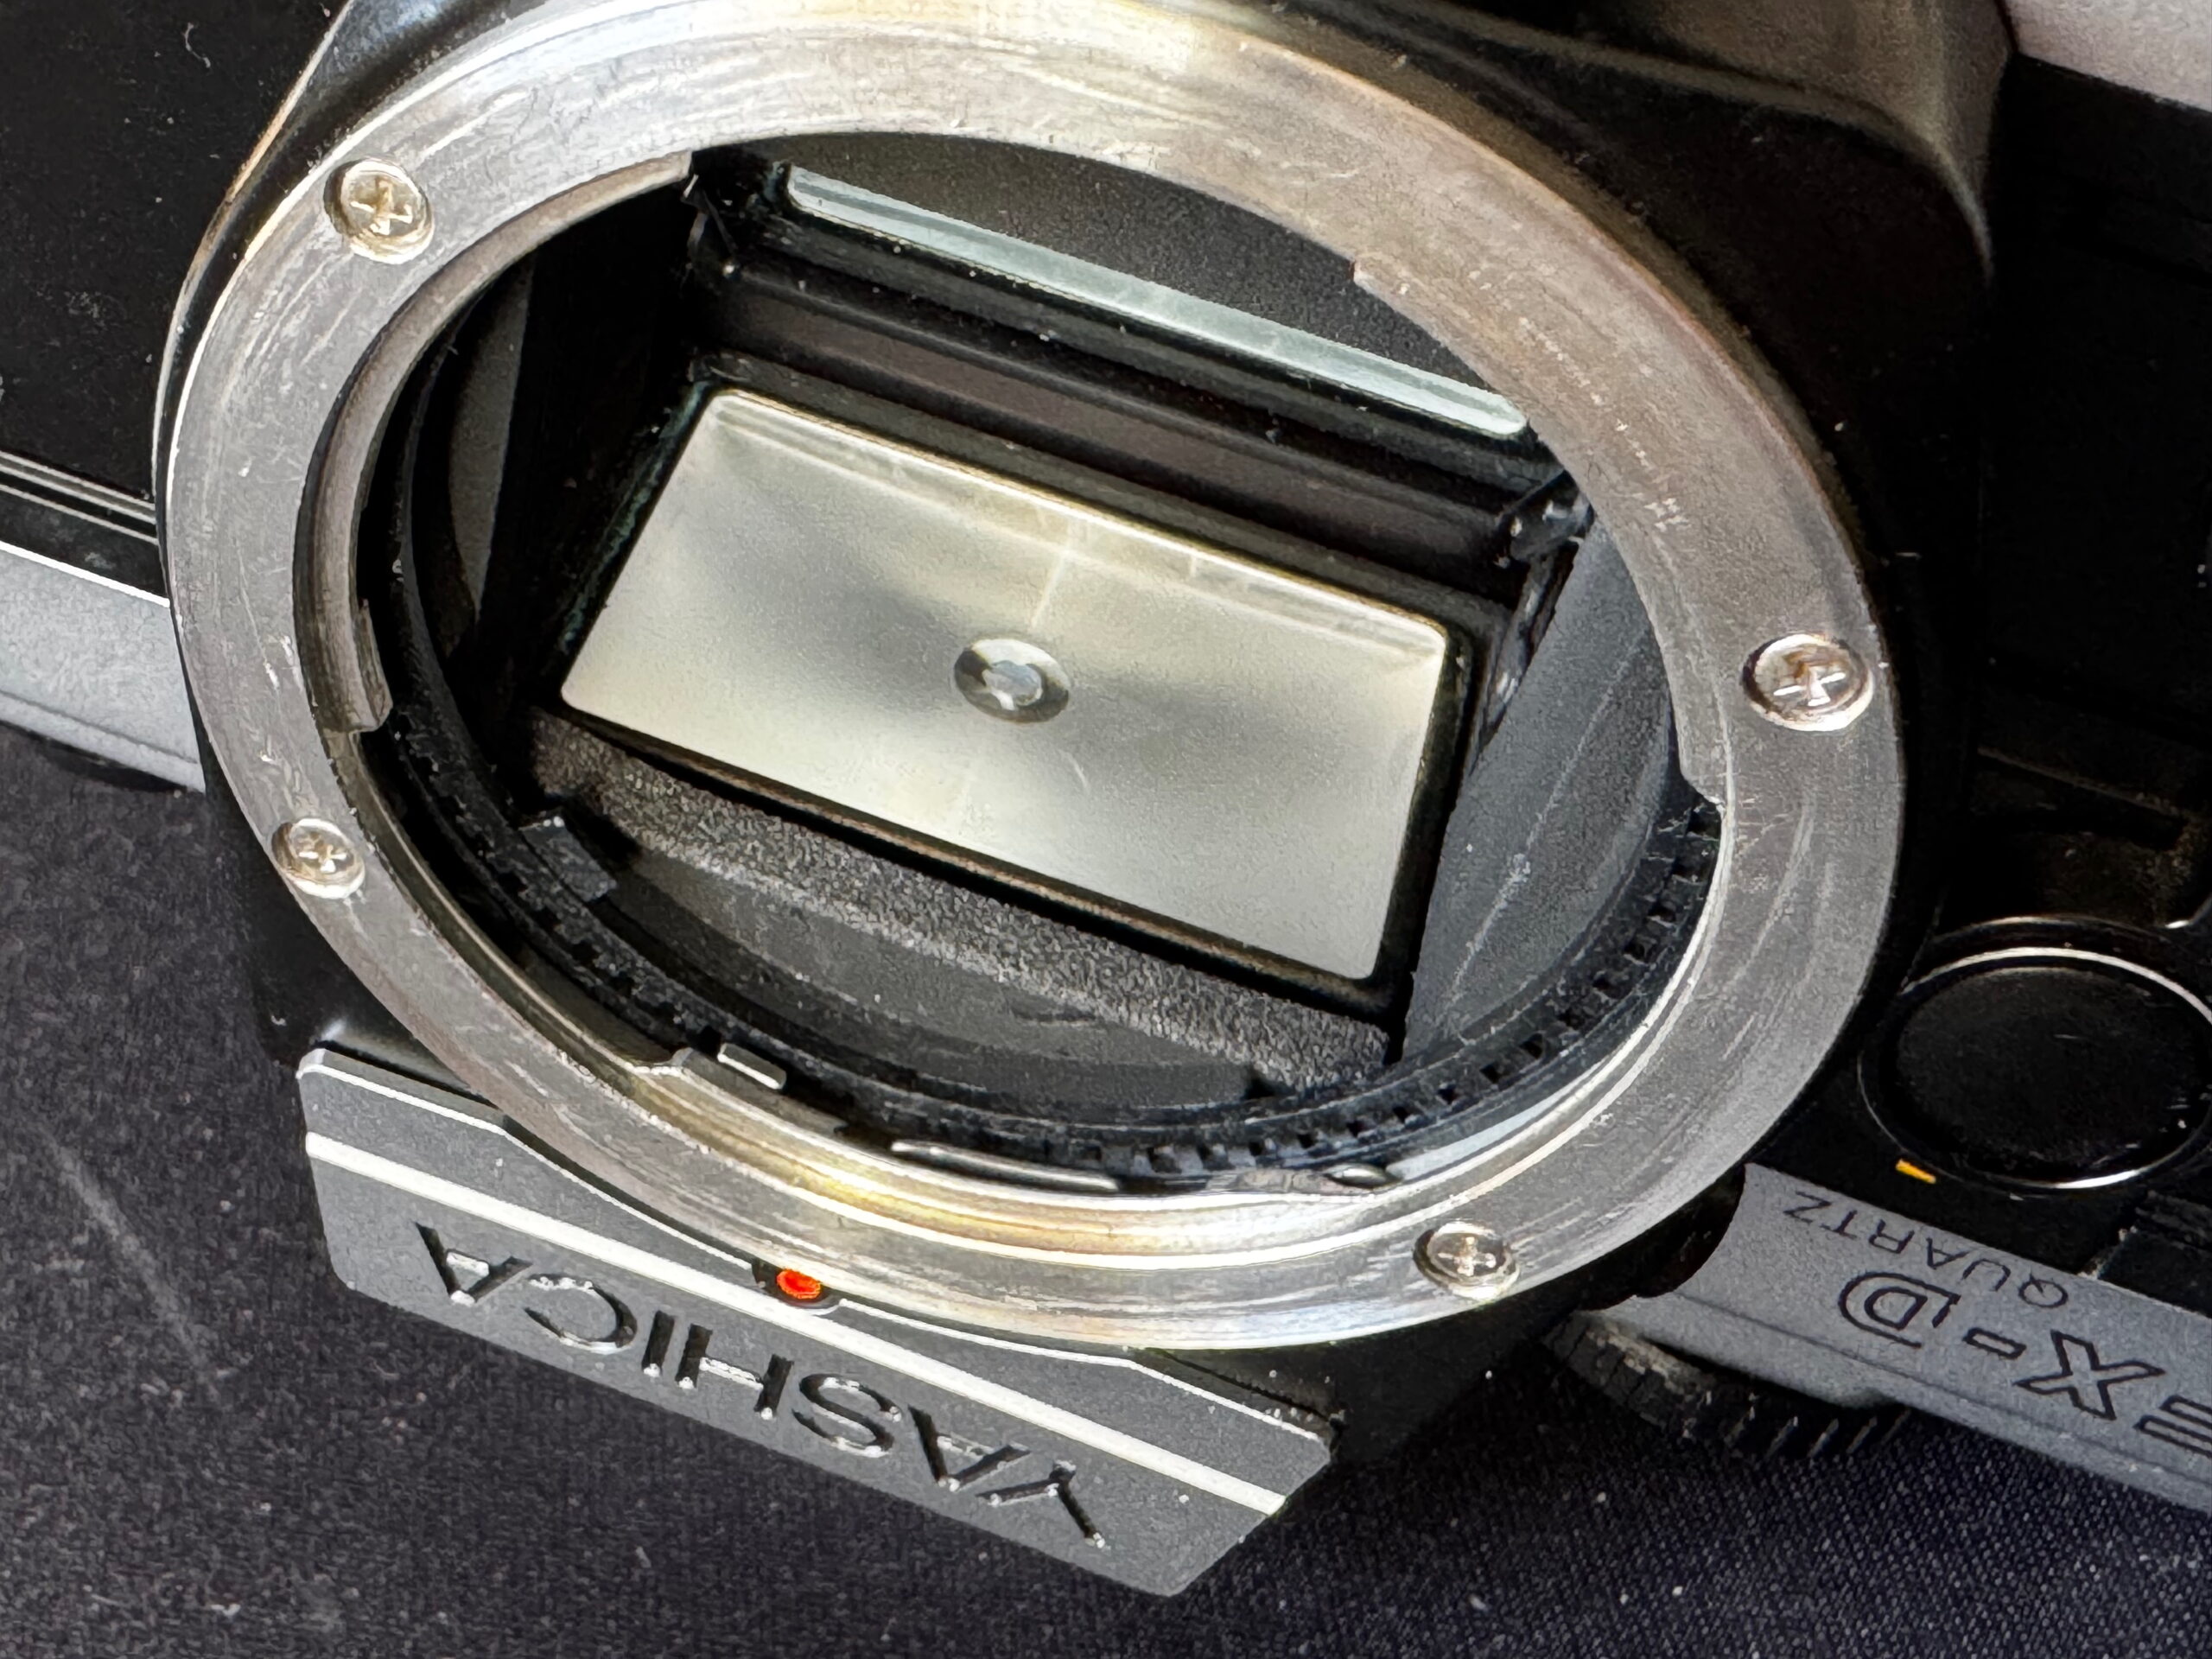
The camera body exterior cleaned up quite easily. There’s now a bit of a sheen to the controls, shutter and exposure meter buttons (the FX-D has a separate button to activate the viewfinder LEDs), and no dirt under the film advance lever or around the lens mount. In the process, I’ve also fitted a new foam mirror bumper onto the edge of the focus screen, so that won’t stick anymore and VERY gently cleaned the bottom tip of the mirror.
I’ve had confirmation the new light seals and one of the covering choices is winging its way from Japan via Air Mail, whilst the other coverings also been dispatched and is probably on one of Royal Mail’s ponies somewhere.
